
Showing posts with label Sewing. Show all posts
Showing posts with label Sewing. Show all posts
Wednesday, June 27, 2012
Thursday, March 29, 2012

Thursday, March 8, 2012

Friday, March 2, 2012

Tuesday, December 13, 2011

Wednesday, December 7, 2011

Friday, October 14, 2011
Halloween Lollipop Shirt (Reverse Appliqué)
I first found this project at Ruffles and Stuff. I really enjoy her blog. She is very talented. When I saw the shirt she made I knew that it was simple enough that I could do it. Unlike the other ladies here at the Polka Dot Umbrella, I do not sew well. Sure I can quilt at an ok level, but as far as following a pattern to make clothes or even refashioning something it's not pretty. I have NEVER made an item of clothing from start to finish. So taking a solid colored shirt to spruce up was right up my alley.

What you need:
1 short or long sleeve plain color cotton t-shirt (I bought mine at Target. Old Navy always has them too.)
Scrap of coordinating fabric
Small strip of ribbon plus some for tying a bow
The first step will show you how much of an amateur I am. My husband bought my sewing machine for me for Christmas a few years back. It is pretty fancy. It had a bag of parts that I thought I'd never need. I still don't know how to use 90% of them. So when I made this shirt I didn't even change my presser foot!!! I just used the 1/4 inch quilter foot. It's all I have ever used. Little did I know that I have a free motion foot. What? Are you kidding me? When I say if I can do this anyone can is 100% true. That takes me to...
Step One: Change your presser foot! Use a free motion presser foot; when I tried it after with the different foot it was much easier.
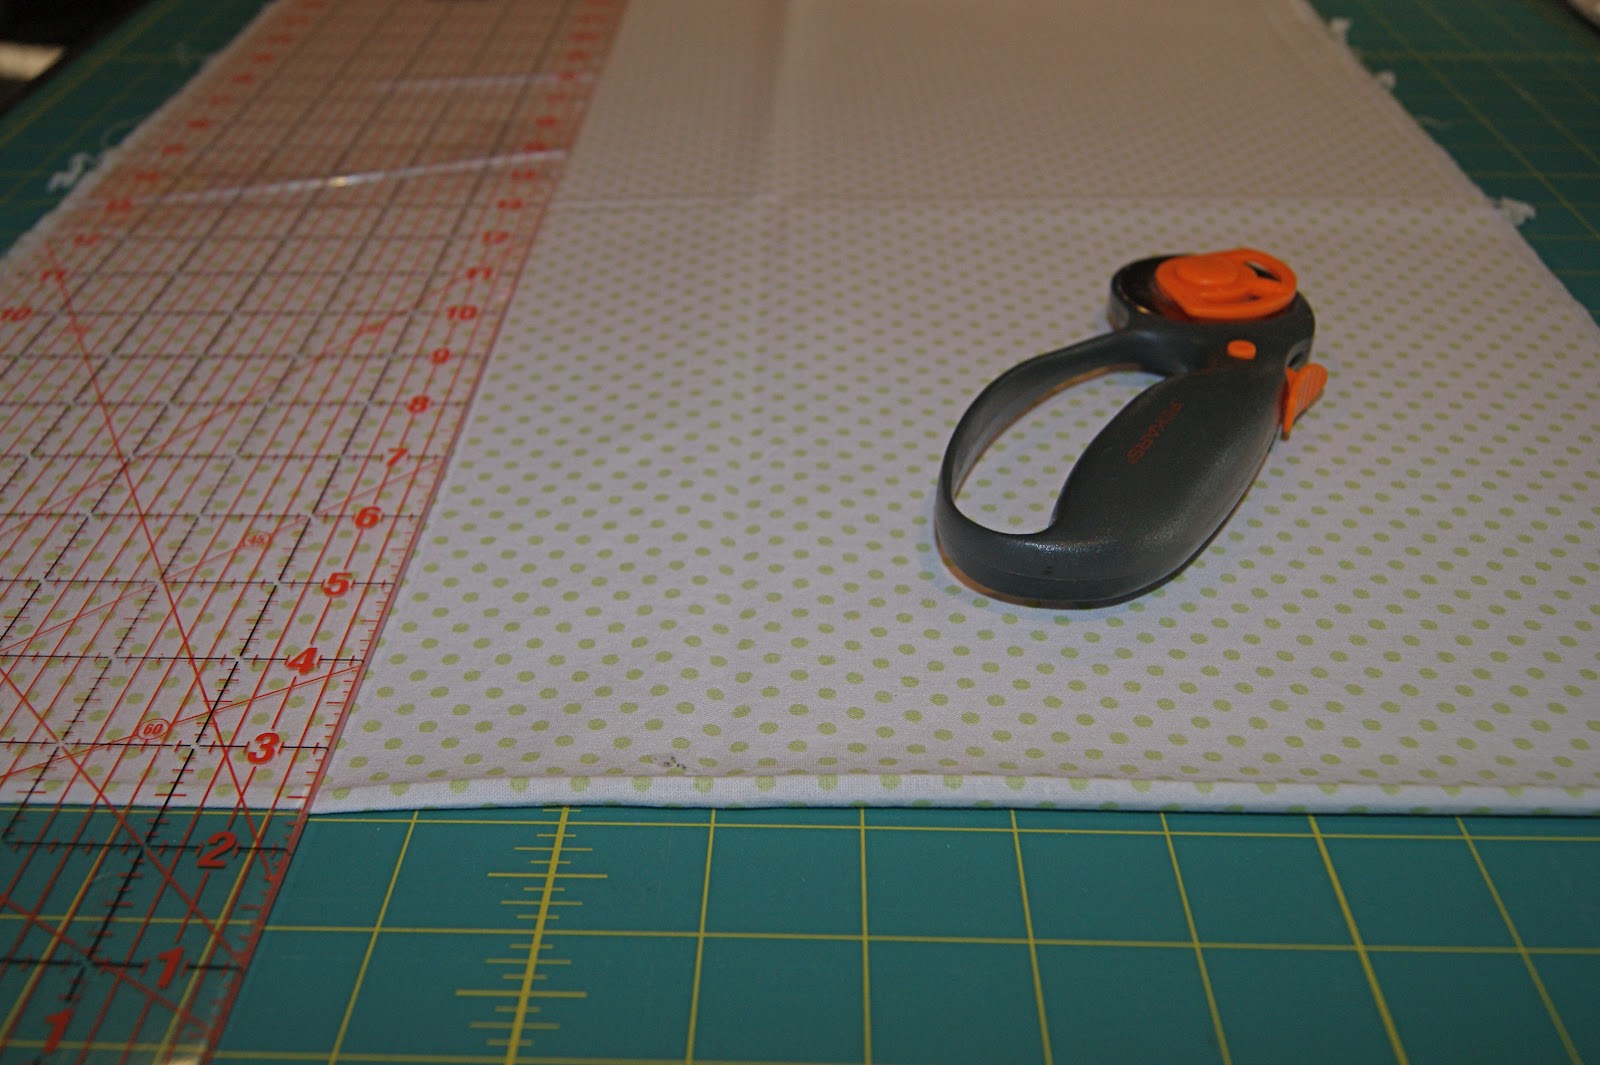
Step Two: Cut a square out of the fabric you chose for the lollipop. Error on the side of being too big; I used about a 6 inch square piece.

Step Three: Turn the shirt inside out. Pin the fabric to the inside center of the shirt. Pin the fabric with the right side facing down.

Step Four: Draw a swirl on the wrong side of the fabric using a fabric pen or pencil.

Step Five: Sew the fabric to the shirt along the swirly line. I got a little off course, but it was ok.

Step Six: Use scissors to cut between the swirly lines. You will only be cutting the shirt. Trim extra away as needed. Try to keep it even. (After the first wash it will fray and curl a little.)

Step Seven: Pin a small scrap of ribbon to the bottom of the lollipop and sew it on. I tied a small bow and hand sewed that on.

See how simple? Seven steps! I am so excited to try new designs. Check back in December for a great Christmas design using the same reverse appliqué technique.


What you need:
1 short or long sleeve plain color cotton t-shirt (I bought mine at Target. Old Navy always has them too.)
Scrap of coordinating fabric
Small strip of ribbon plus some for tying a bow
The first step will show you how much of an amateur I am. My husband bought my sewing machine for me for Christmas a few years back. It is pretty fancy. It had a bag of parts that I thought I'd never need. I still don't know how to use 90% of them. So when I made this shirt I didn't even change my presser foot!!! I just used the 1/4 inch quilter foot. It's all I have ever used. Little did I know that I have a free motion foot. What? Are you kidding me? When I say if I can do this anyone can is 100% true. That takes me to...
Step One: Change your presser foot! Use a free motion presser foot; when I tried it after with the different foot it was much easier.
Step Two: Cut a square out of the fabric you chose for the lollipop. Error on the side of being too big; I used about a 6 inch square piece.

Step Three: Turn the shirt inside out. Pin the fabric to the inside center of the shirt. Pin the fabric with the right side facing down.

Step Four: Draw a swirl on the wrong side of the fabric using a fabric pen or pencil.

Step Five: Sew the fabric to the shirt along the swirly line. I got a little off course, but it was ok.

Step Six: Use scissors to cut between the swirly lines. You will only be cutting the shirt. Trim extra away as needed. Try to keep it even. (After the first wash it will fray and curl a little.)

Step Seven: Pin a small scrap of ribbon to the bottom of the lollipop and sew it on. I tied a small bow and hand sewed that on.

See how simple? Seven steps! I am so excited to try new designs. Check back in December for a great Christmas design using the same reverse appliqué technique.
Monday, October 10, 2011
Fall- Swingpack Purse
Back in April I posted a pattern for a Swingpack Purse. Hands down, this has been the best purse I have owned. It is the perfect size for me. I knew I wanted the same style when it came time to make one for the Fall season. The purse was super easy the second time and it ended in great results.

I left the middle strip on the strap with raw edges as well as the outer piece of the flap on the front. I think this gives the purse a lot of character.

There are lots of fun options with this purse. For a gal that has always disliked purses and the back pocket was my preference, this purse has changed my mind.
Happy Fall!
Wednesday, September 28, 2011
Hot Pad Sewing Kit

How cute is this hot pad sewing kit. I love how simple it is. I received this one as a gift, but I have since made quite a few of them. Once I made these as an activity with my young women and they loved it.

It is as simple as lining everything up on one side and sewing right down the middle. I bought a whole pack of hot pads at the dollar store. I just had to make sure the loop was in the middle of the hot pad and not on the corner. Then you add a button to one side and you are done.

For the inside I added two snack size ziplock bags to hold thread, scissors, etc. I like to use bobbins to hold different colors of thread, they are the perfect size.

I also added a strip of fabric to hold pins and needles so they don't get lost.
I also found this cute first aid kit made from a hot pad on Heather Carson's blog. She shows you how to add a loop for the button if your hot pad doesn't have one already.

Monday, September 26, 2011
Sports Fan Shirts

College football season has just started and there are colors flying every where here in Utah. I know we aren't the only ones. My family is from Tennessee and I am pretty sure there is an unwritten law that you must wear orange on a high school or college ball day. Are any of you and your families big football fans?
I ran out one afternoon to get the family some University of Utah shirts and was shocked at the price for the quality. I immediately thought to myself: I could make something cuter. I have this thing in me that always wants to do something on my own. I have an "I can do that mentality" as I am sure many of you do too. So, the same day I went and picked up everyone solid colored shirts.
After finishing these shirts I knew that I wanted to remind all of you fabulous readers that designing your own t-shirt graphics is a really fun and a creative way to get a great results while being cost efficient.
I used two different techniques on these shirts. I started them by using a freezer paper stencil and with paint put the word Utah on them. I then appliquéd the U and went along all of the letters three times with my sewing machine using a wide stitch to give it a stitched look. I also added an extra swirl line across my little girl's shirt. Fun, simple, easy and they turned out just the way I wanted them to!
I sat my kids down for some pictures and it didn't take seconds until it turned into a football game.


Wednesday, September 14, 2011
Halloween Table Runner
I am a sucker for fall/Halloween decorations. It is the only holiday that I always decorate for, the others are hit or miss. I made this table runner last year. I originally saw this runner at a local quilt shop and fell in love. Luckily they had the pattern. I love how it turned out. Unfortunately I finished it only a few weeks before Halloween last year so I am putting it out super early this year.


It has four different embroidered sections with applique. I like the idea that you could make up your own pattern for each holiday. I am currently working on another one for Christmas. I am so excited, I found the cutest fabric.


Wednesday, August 17, 2011
Wedding Dress Update
I have good news! Remember last week when I mentioned I was looking for a thrifted wedding dress for my sister. Well she found one that is perfect for only $50. It even has a few of the features we were planning on adding. Here are a few pictures of what my sister was looking for.
She really likes the top of the dress on the right. She also likes the drop waist. The dress on the right has another style of bottom she likes, big and poofy. Originally we were looking for a halter style dress that we could add lace over to make the sleeves like the dress on the left. Overall we want to combine a little from each of the above dresses. Here is what we found.


 |
| Left: Style Vanessa Right: Strapless A-Line |

The dress actually fits her really well so we won't have to do much tailoring. The top has a few too many beads but that is an easy fix. The bottom is where we are going to have to fix a lot. There is too much beading and craziness going on. Also that bow on back has to go! We wanted to add a pop of color by adding either a pink sash or pink tulle underneath the dress.

Doesn't she look adorable! What do you think about our plans? Any suggestions? Seriously I hope we are not in over our heads.
Monday, August 15, 2011
Doll Clothes
Many things I sew get used here and there, but are never fully worn out or tossed in the washer frequently. That is, until I started sewing doll clothes.

I have a three year old, and she has a baby in her arms at all times. The baby goes with us just about everywhere, and most of the time it is being pushed in the stroller. Can anyone relate to this stage with your little ones?
I was some what not interested in sewing doll clothes, but after I gave it a try, I was addicted. It is super simple, fun and easy to do. I love that you end with a darling outfit in a matter of minutes versus the hours it takes to sew full scale clothing.
All my patterns came from two sites:
Serving Pink Lemonade
The Blueberry MoonI also thought that Crafiness Is Not Optional had some great ideas, and there are some darling doll clothes she made that helped me with the designing process.

I did find that I had to enlarge the great patterns at Blueberry Moon. My little girl's dolls are the standard size (which are a bit bigger than the dolls the Blueberry Moon patterns were made for). I made everything 3/4 inch bigger all the way around except for the pants. For the pants I made the rise one and half inches longer and the length of the pants one inch longer.

Boy do these doll clothes and extras get used constantly. It makes it kind of fun to see something you make get used on such a regular bases.
Happy sewing!

Wednesday, August 10, 2011
Little Black Skirt
I love the thought of being able to refashion clothes. The ability to take something from drab to fab is so inviting to me. I have to be totally honest though; it scares me to death. I decided I just better jump in and get started. I have a lot of old clothes just lying around, I have a hard time throwing anything away, just ask my husband. Since this was my first time refashioning, I decided to start with something easy.


I am actually really proud of how it turned out. It is hard to see in the before picture just how awful and out of date this skirt was. I originally got this skirt out of a pile of clothes my great aunt was getting rid of. It was part of a suit set. She had at least three skirts just like this. I took them all thinking I would use pieces from all of them.
Here is a list of what I did:
- I unpicked the old waist band and got rid of it, there was this weird elastic inside
- I tapered the sides by at least 1.5"
- Using one of the other skirts I made the new waist band
- Added buttons to the back

For the waistband I cut a strip off the bottom of one of the other black skirts measuring 6". I sewed the right side to the front of the skirt and ironed it at 2.5" toward the inside of the skirt so I had a thick waistband.

I added three buttons on the back. Since I just took off the waistband I didn't need to add a zipper or change that at all, yay!

Now I have a brand new little black skirt that cost me absolutely nothing. It only took me three hours for everything. I am sure once I am more experienced I will be able to be faster. Have you ever refashioned anything? Any tips? Also as a side note, my sister is getting married in a year and we are on the look out for a thrifted wedding dress to refashion. If anyone sees one or has any tips for how to refashion a wedding dress please let me know!!
Wednesday, July 13, 2011
Elastic Waist Skirt
The other day I was looking for an easy skirt pattern and came across this pattern over a Freshly Picked. It looked so easy and cute I had to give it a try.

I found the fabric at Hancock Fabrics on a pre-measured bolt. It was 5 yards for 10 dollars, so I had extra for another project, yay! This pattern was really easy to follow. I didn't put the pockets in, which made it that much faster. I also added extra fabric so the skirt was more full.

Since I didn't put the pockets in, I used a french seam to finish off the sides. I think this adds a lot, it makes the project seem more professional. Plus if you don't have a serger this is a great way to finish your seams. I have one but I still use this technique on most projects, I guess it is just personal preference.

For the hem on the bottom I sewed three lines of straight stitches side by side. It looked great. It really did add a more finished look and I love how the black stitches stand out on the fabric. Even though this was a really simple project it helps to add a few simple things to make it more professional and unique.


Subscribe to:
Posts (Atom)