
I have helped install a few sprinkler systems. I don't know how to do the valve work or connect to the main water line yet, but I can lay pipe and attach the sprinklers. It really isn't hard. Last Spring I caught the gardening bug. I decided to pull out a ton of grass in the front yard and make a bush bed (I don't do flowers). I also decided that the best way to get water to the bushes would be a drip line. That way I didn't have to worry about the plants getting too large and blocking the water. My neighbor up the street had just done one herself, so she pointed me in the right direction. With our new home, we're totally starting over. We have grass in the front yard and nothing else. There were three beds that needed immediate attention before the weeds overtook them completely. I installed another drip line and planted more bushes.
What you need:
1/2 Inch PVC x Compression Coupling
1/2 Inch Poly TubePoly Tube (Measure the length of your flower bed to determine how much tubing to buy)
1/2 Inch End Cap
1/4 Inch Microtube (This is sold in rolls of 50 and 100 feet. I've always been fine with 50.)
For the following you'll need one of each for EVERY plant (These are sold in bags of 5, 10, and 25):
1/4 Inch Barb Connector
Button Dripper
Stabilizer Stake
Depending on your sprinkler system you may also need a small cut of 1/2 Inch PVC Pipe and a 1/2 Inch PVC Elbow.
*WARNING! You will get dirty!*

This is how it started for me. I had a 1/2 inch piece of PVC sticking up out of the ground. Very pretty I know. It was connected to the main sprinkler system. It did have an end cap so I didn't have a fountain. I dug down a little so my fittings would be covered and then I cut the pipe off.

When working with PVC you must have both of these. Purple primer goes on first. Apply it where your PVC pieces meet. Allow it to dry for several seconds. Then brush the PVC cement on. Both of these have a built in brush attached to the lid on the inside. Hold the pieces you are gluing together while the cement dries for several seconds. Be careful to not get these on your hands, since they're hard to get off.
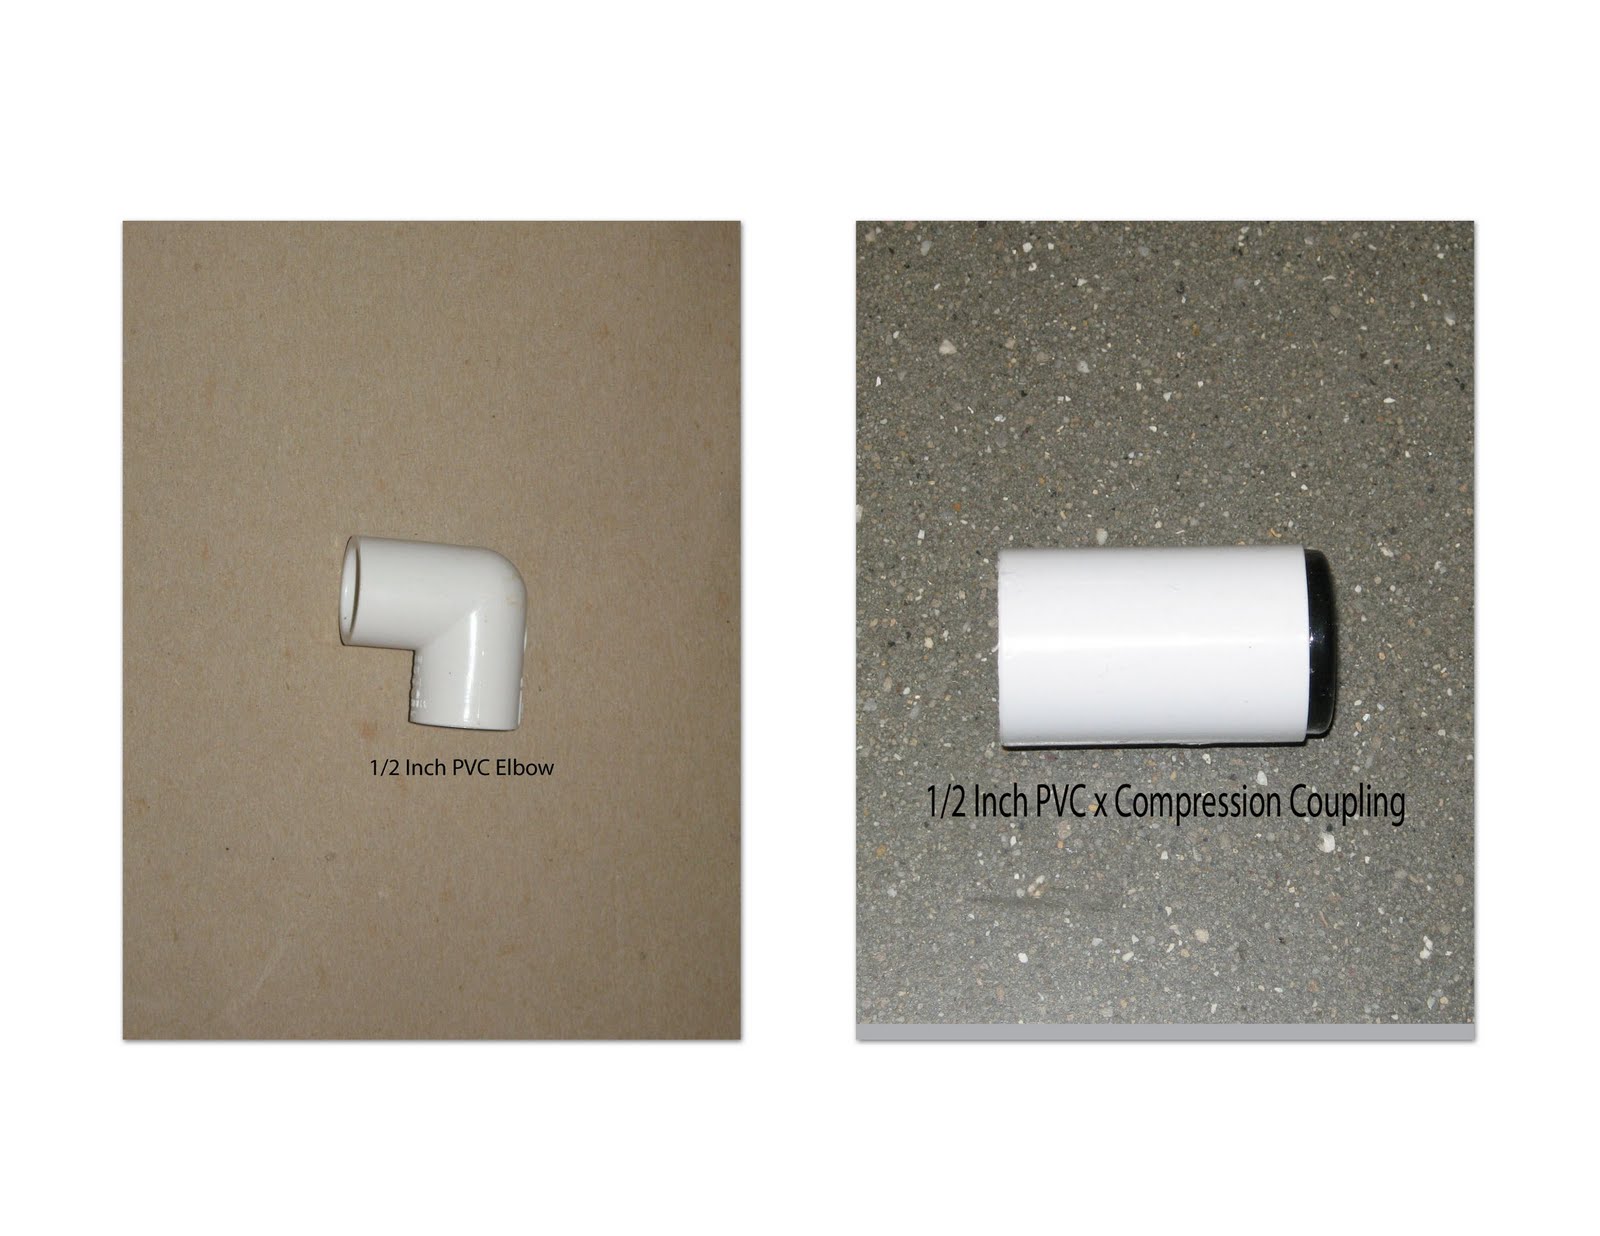

I primed the inside of the 1/2 inch elbow and glued it to the piece of 1/2 inch pipe I had cut. I then used about a 3 inch section of the pipe and primed and glued it to the other end of the elbow. Next, I primed and glued the compression coupling to the pipe. The black end of the compression coupling is where you'll stick 1/2 inch poly tube in for the actual drip line.

After the poly tube is inserted in the compression coupling, you'll need to run it the length of your flower bed. There are metal stakes you can purchase to hold it in place, and they look like a U. I don't use them. I just do this on a warm day; once the poly tube is warm it's very flexible and will stay in place. At this point lay out your plants in the bed. This way you'll know where to run 1/4 inch microtube off the main line.

These are the different parts you'll need. I used the DIG brand, it was less expensive.

This is a hole punch; use it to punch holes in the 1/2 inch poly tube. It only costs around two dollars and it's worth it.

Near each plant you'll punch a hole in the 1/2 inch poly tube. Insert a 1/4 inch barb connector in each hole. This is the hardest part. Trying to jam the connector in the little hole takes some strength. Try using saliva on the end of the connector, it lubricates it making it a little easier to push in-seriously.

Next cut a piece of the 1/4 inch microtube that will reach from the main line to the center of your plant.

At the end of the microtube insert a button dripper.

Plant your plants. A stablizer stake will hold the dripper right where you want it.

Place a 1/2 inch end cap on the end of the 1/2 inch poly tube. I like this method better than folding it over and securing it with a zip tie because I can drain the line easier if I need to.

Before you cover the drip line turn it on to test it. Be sure there are no leaks and that all the button drippers are working. If you see a leak, make sure the pieces are all tightly connected. Once you're satisfied, you can cover it with whatever you choose: woodchips, gravel or mulch.

2 comments:
We did some of these yesterday,but we have never covered them. I like that idea it looks a-lot prettier.
Connie
You are my hero!!! This is amazing and it really does seem easy, you explained it very well. You rock!
Post a Comment